Friday, April 29, 2011

5th Batch - Slower Cooker and Powdered Milk

For our fifth batch, my wife and I tried the recipe in the slow cooker video we posted, and which can also be found at Every Day Food Storage. My wife grew up eating mostly yogurt made from powdered milk so she was pretty excited to try this out. I prefer using 'real' milk (I still haven't tried raw) because it tastes better(to me). I feel in past days powdered milk was the poor mans way of having milk, but now a days it seems it can be just as expensive as 'normal' milk and in some cases more expensive. At any rate, we do keep some powdered milk for a food reserve and we are always keen on finding recipes that will help rotate our supply. The details for the batch are below.
Ingredients:
Milk:

  • Amount: 2 quarts
  • Brand: Stop-n-Shop Instant Nonfat Powdered Milk (We aren't 100% sure, I took my detailed notes after the trash went out).
  • Notes: We used the measurements from the website to make 2 quarts, which is 3 cups of mix for 2 quarts of water. Additionally we added 2 and 2/3 cups additional mix. In total that is 5 2/3 cups of powder mix to make 2 quarts of milk. (This was significantly more than what the box recommended)
Yogurt Starter:
  • Amount: 1/2 Cup
  • Brand: Old Home All Natural Plain Yogurt (Local MN yogurt)
  • Ingredients: Cultured pasteurized grade A milk & Nonfat milk
  • Other Facts: Live & Active cultures (Acidophilus & Bifidus)
Incubator Used:
We used a slow cooker or Crock-Pot

Steps & Notes:
Again, we followed the directions on the Food Storage Yogurt from Everyday Food Storage:
  1. Mix Milk: We mixed our powdered milk using the measurements recommended on the website. This might have been a mistake as the ratio of powder to milk was significantly higher than what the packaging recommended. In retrospect it might have been wiser to go with the ratio on the box.
  2. Heat Milk: After mixing the milk and pouring it into the slow cooker, we set the slow cooker onto 'Low' heat and left if for 2.5 hours. 'Low' on our slow cooker got the milk to about 188 degrees. The milk got frothy and there was some 'light browning' around the edge of the pot.
  3. Cool Milk: After 2.5 hours we turned the cooker off and let it sit for 3 hours. This allowed the milk to cool to about 125 degrees. We had a thin 'film' form on the top of the yogurt that we scooped off before mixing in the starter.
  4. Stir in Starter: We stirred in  1/2 cup of starter and mixed it well.
  5. Incubate: We put the lid on and wrapped towels all around the cooker and left it to incubate.
  6. Timing: We let it sit out for 7 hours.
Results:
  • Mixed reviews, I think it's okay, my wife doesn't like it.
  • Taste: It doesn't really taste that great. I don't think it has that good tart yogurt taste, it's bearable though and as I will talk about below, the texture and consistency help it. My wife feels like it tastes too salty. She was also hoping it wouldn't taste like powdered milk, but to her it tastes like "super condensed powdered milk".
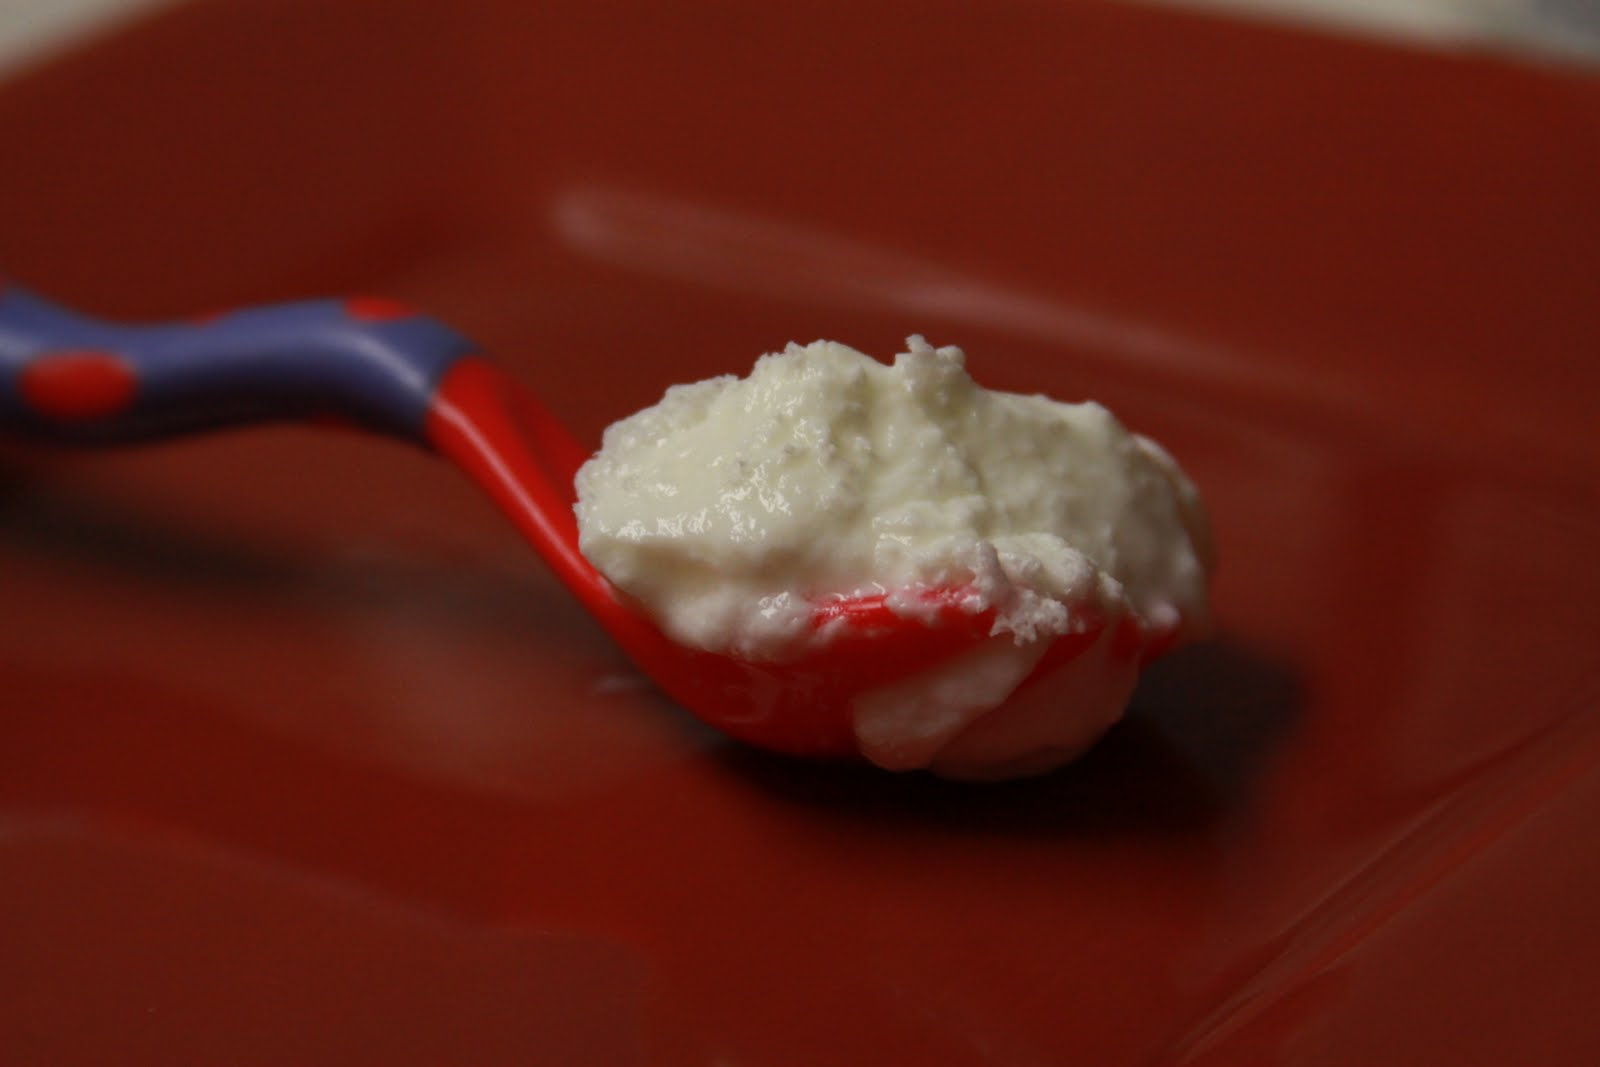
  • Consistency: It is very thick and firm, as seen in the video and pictures we took. I'm one of those people who when they taste foods is swayed a lot by the texture of the food. For some reason the fact that this yogurt is so firm and smooth it helps the flavor and is the one redeeming quality.
  • Overall Rating: 2 out of 5
  • Other observations:
    •  My wife really liked this approach to making the yogurt because, for her, it is low maintenance and easy; meaning you don't have to worry about watching the temperature of the milk over the stove. You just have to have the time and a regime to wait 2 hours for it to warm remember to turn it off, wait 3 hours to cool, then remember again to come back to it, then have time to let it sit and incubate for 6-8 hours. For me that would be more work.
    • I didn't like that it took so long, and the yogurt wasn't that good. Since I usually make yogurt in the evening after coming home from work, I like that I can heat the milk up relatively quickly, cool it quickly (putting the pot in some water helps, as long as you don't let it cool too much), and then let it incubate overnight while I sleep.
Possible Improvements:
  • Use less Instant Powdered Milk in the original mix.
  • Try part 'real' milk and part Powdered Milk. If we could get a similar consistency using milk that would be the best of both worlds.

Tuesday, April 26, 2011

Yogurt 3rd & 4th Attempts

I made a batch of yogurt before leaving for a week to my brothers wedding and I made a batch when we got home, both batches came out about the same. I've noticed that the more I make it and the more I've read the less precise I feel I have to be on the temperatures and times. It is also less 'stressful' and feels effortless to heat up the milk, cool it, and set it out to incubate.

Ingredients:
Milk:

  • Amount: 1/2 Gallon
  • Brand: Costco's Kirtland whole milk. 
  • Other facts: Homogenized, no rBST, Pasteurized, with Vitamin D3 added
Yogurt Starter:
  • Amount: 1/2 Cup
  • Brand: Old Home All Natural Plain Yogurt (Local MN yogurt)
  • Ingredients: Cultured pasteurized grade A milk & Nonfat milk
  • Other Facts: Live & Active cultures (Acidophilus & Bifidus)
Incubator Used:
I use a small cooler filled with Warm Water


Steps & Notes:
I followed the same directions as the first time:

  1. Heat Milk:
    Since my 2nd batch I've been using lower and lower temperatures when heating the milk, I've been turning the heat off around 180 degrees.
  2. Cool Milk: I only cooled it to 125 degrees, Still on the hot side.
  3. Stir in Starter: I stirred  1/2 cup of starter from the last batch into a separate bowl with a smaller portion of milk to try and get a more even dissolution, I then mixed it in with the rest of the milk. 
  4.  Pour into containers
    I usually put a majority in an old yogurt container and then
    put some in smaller glad ware containers. I want to try all glass to see
    if it makes a difference. I tried putting cinnamon sugar in the bottom of one container and it didn't seem to have a negative affect on the final product.
  5. Incubate: I used the cooler with hot water, I'm learning of a lot of different methods for this and should do a post on the different methods.
  6. Timing: I left these batches in for a little longer. I usually make yogurt in the evening after work and leave it to incubate overnight. It ends up being 8 to 10 hours depending on how early in the evening I start.
Results:

  • Thumbs up.
  • Taste: Not too tart, and almost sweet tasting.
  • Consistency: It is usually more on the delicate side, although the last two seem to have firmed up well. I want to try and get it a little thicker and I've read and heard mixing powdered milk in at the beginning helps.
  • Rating: 4 out of 5
Possible Improvements:
  • Mix in some powdered milk w/milk before heating. This is supposed to thicken the consistency more.
  • Use cooler temperatures to see what is different.
  • Try using a slow cooker for incubation.

Monday, April 25, 2011

Yogurt Making in a slow cooker

As I've been reading around and discovering more I've found there are sooo many ways to incubate the yogurt. Here is a video my sister sent me about making yogurt in a slow cooker or crock-pot. There are also some great ideas on what you can use your yogurt in. I personally really like the yogurt cheese (the lady calls it cream cheese).

Enjoy.

Wednesday, March 30, 2011

Yogurt 2nd Attempt

My second attempt at yogurt:

Ingredients:
Milk:

  • Amount: 1/2 Gallon
  • Brand: Costco's Kirtland whole milk. 
  • Other facts: Homogenized, no rBST, Pasteurized, with Vitamin D3 added

Yogurt Starter:

  • Amount: 1/2 Cup
  • Brand: Home made from the last batch
Incubator Used:

  • Cooler
Steps & Notes:
I followed the same directions as the first time:
  1. Heat Milk: I warmed the milk to ~ 195 degrees Fahrenheit. This was a little hotter than the first time.
  2. Cool Milk: I only cooled it to 130 degrees, which is on the hot side. I've read people going as cool as 100 degrees.
  3. Stir in Starter: I stirred  1/2 cup of starter from the last batch into a separate bowl with a smaller portion of milk to try and get a more even dissolution, I then mixed it in with the rest of the milk. 
  4.  Pour into containers: One container had cinnamon sugar on the bottom when I poured the milk in, it turned out pretty well.
  5. Incubate: I used the cooler with hot water again, the water was a little warmer than last time too, I think around 130 degrees. We tried different sized containers and continued to experiment with putting some in the water and some above. 
  6. Timing: I've been reading about timing for incubation. I guess it only needs to sit until the yogurt 'gels'.  The added time apparently changes the flavor more than the consistency. If I remember correctly, the longer it sits the tangier it tastes. I left this one out a while and it was pretty tangy.
Results:
  • Mixed outcome, I think I did everything a little too hot and must have killed some of the starter. It seems the yogurt that was submerged continued to be very liquid and never really gelled. It also tasted fairly sour. The yogurt that was above the water or part in the water kind of worked.
  • Taste: Not tart, more sour and tangy
  • Consistency: Some turned out really liquid and never gelled. Some gelled and set up okay, but was still tangy.
  • Rating: 2 start out of 5
Possible Improvements:
  • Don't incubate with such hot water
  • Don't heat the milk too hot and let it cool off more.
  • Mix in some powdered milk w/milk before heating. This is supposed to thicken the consistency more
  • Try a different incubator method.

Sunday, March 27, 2011

Yogurt 1st Attempt

Small Container Results
I tried making my own yogurt for the first time this past weekend. Below is my log on the endeavor:

Ingredients:
Milk:

  • Amount: 1/2 Gallon
  • Brand: Costco's Kirtland whole milk. 
  • Other facts: Homogenized, no rBST, Pasteurized, with Vitamin D3 added

Yogurt Starter:

  • Amount: 1/2 Cup
  • Brand: Old Home All Natural Plain Yogurt (Local MN yogurt)
  • Ingredients: Cultured pasteurized grade A milk & Nonfat milk
  • Other Facts: Live & Active cultures (Acidophilus & Bifidus)

Equipment:

  • Digital Thermometer
  • Plastic Gladware (sterilized the best I could) I used one large 7 cup container and five 1/2 cup containers.
  • Stainless steel pots
Incubator Used:
  • Cooler. There are many options I've learned, of which I can write about later. For this round I kept it simple.
Steps & Notes:
I followed the directions of Professor David B. Fankhauser, Ph.D. My measurements and temperatures went something like this.
  1. Heat Milk: I warmed the milk to ~ 188 degrees Fahrenheit. I did this very slowly. I have an electric stove top and I set it to about 5 out of 10. I didn't want to burn the milk or boil it. This gave me time to think and prepare as it warmed up. It did take a little while, maybe 20 minutes.
  2. Cool Milk: You want the temperature to come down to ~ 128 degrees Fahrenheit. I removed my milk from the heat right after it reached 188 degrees and let it cool standing alone. This was going too slow, so I filled up the sink with cold water and dipped the pot in the water. This cooled it off a little too much so I had to re-heat a bit.
  3. Stir in Starter: I stirred in my 1/2 cup of starter right into the pot when the temperature was at ~130 degrees Fahrenheit, probably on the hot side. Some people recommend mixing it into a smaller portion of milk, then adding it to the overall batch. I stirred it in pretty well, but when I poured it out, there seemed to be a lot of undissolved yogurt starter still. 
  4.  Pour into containers: Not much to note here. Some yogurt starter didn't seem to be mixed in all the way. It might have been from some burning, as there seemed to be a little milk sticking to the bottom of the pot.
  5. Incubate: As mentioned I used a cooler with Hot water. It is recommended to fill with water to just below the rim of the containers. I had different sized containers and did some experimenting. The large 7 cup container had water to just below the lid. I put one small container in the water, I think it was floating/submerged. The other four were not in water at all, just sitting on top of the larger container.
  6. Timing note: The time you are to let the yogurt sit varies. From the different recipes I've read appears to be a function of how warm the environment is and the ratio of yogurt starter to milk. Dr. Fankhauser suggests 3 hours for this ratio and incubation method. I finished around 8:30pm and wasn't awake at 11:30pm so it ended up sitting until about 3:30am. I'm not sure what difference the time makes.
Results:
Large Container Results
  • It worked! The yogurt 'gelled' pretty well.
  • Taste: Mild tartness
  • Consistency: Delicate. A little fragile. It wasn't as smooth as I would like and you could describe parts as somewhat curdlely (not in a bad way).
  • Rating: 3 1/2 start out of 5
Possible Improvements:
  • Try using glass containers that seal better. (Most people recommend these, I still haven't found any yet)
  • Mix in some powdered milk w/milk before heating. This is supposed to thicken the consistency more
  • Try a different incubator method.
  • Mix starter better
  • Try just 3 hours.

Yogurt To Cheese

I love eating cheese. Until recently I knew almost nothing else about cheese except that it was produced from Milk. I don't know much about different types of cheeses or flavors. I've decided to change that and have embarked on a great journey to learn more about cheese.
I have a friend from college that used to make cheese. I dropped her a message to get some advice on where to start. She recommended I start with Yogurt. I thought that was odd, but I looked around and several people recommend this, so that is where I've started Yogurt.
My preliminary reading and information on cheese and now yogurt have come from the website of David B. Fankhauser, Ph.D., Professor of Biology and Chemistry  University of Cincinnati Clermont College. He has a very wide variety of interests, but I've primarily been reading his 'Cheese Page' which could be generalized to Dairy since he also covers yogurt, ice cream, and some other dairy products. I find it extremely fun that this Professor has essential created a class syllabus that anyone can follow to learn the steps to making cheese. The first course is yogurt so that is where I will begin.

Saturday, March 26, 2011

And So It Begins

You might wonder what this blog is about and so this first post comes into existence to explain to all the unsuspecting visitors what it is they have found. This is what could be called a culinary log. A record of tinkerings in the kitchen. It is a public log so that those who visit and know a thing or two more on a subject can give feedback and insight on the endeavor. Those who are in the same situation as the author can learn and feel comforted in the fact that we all have to begin somewhere and it's okay to fail and not have a perfect result the first time.The hope is that some good recipes, information, entertainment, and development will be experienced for all involved.

There will be obvious trends as interests wax and wane and skills develop or falter. You will probably notice a high volume of dairy related posts at the beginning as this is the latest fascination that has brought about the urge to start a blog. Readers are welcome to suggest other areas to explore.

And so it begins...